Wednesday, November 27, 2013

Cheesy Potatoes with Bacon


This week's recipe is inspired by a recent trip to Rhode Island.  While visiting my friend, there may have been quite the alcohol intake, and a visit to a food truck.  Now, being the cheese-maker's daughter that I am, the kind of cheese they use on their "cheesy bacon fries" is not something I can ever appreciate.  The alcohol just made me not think about it.  I wanted to make a version that could be enjoyed under the condition of sobriety.

That was until my mother and I were talking about "My Drunk Kitchen".  If you haven't seen this show, click here to check it out!  As a result of this conversation, the process of me making this recipe is brought to you in part by rum and Coke.  I promise, though, this can be enjoyed in whatever state you may be in.  Please enjoy the recipe (including the silly notes I wrote to myself in the process of making it).

Ingredients for this adventure:
First, preheat the oven to 375 degrees Fahrenheit.

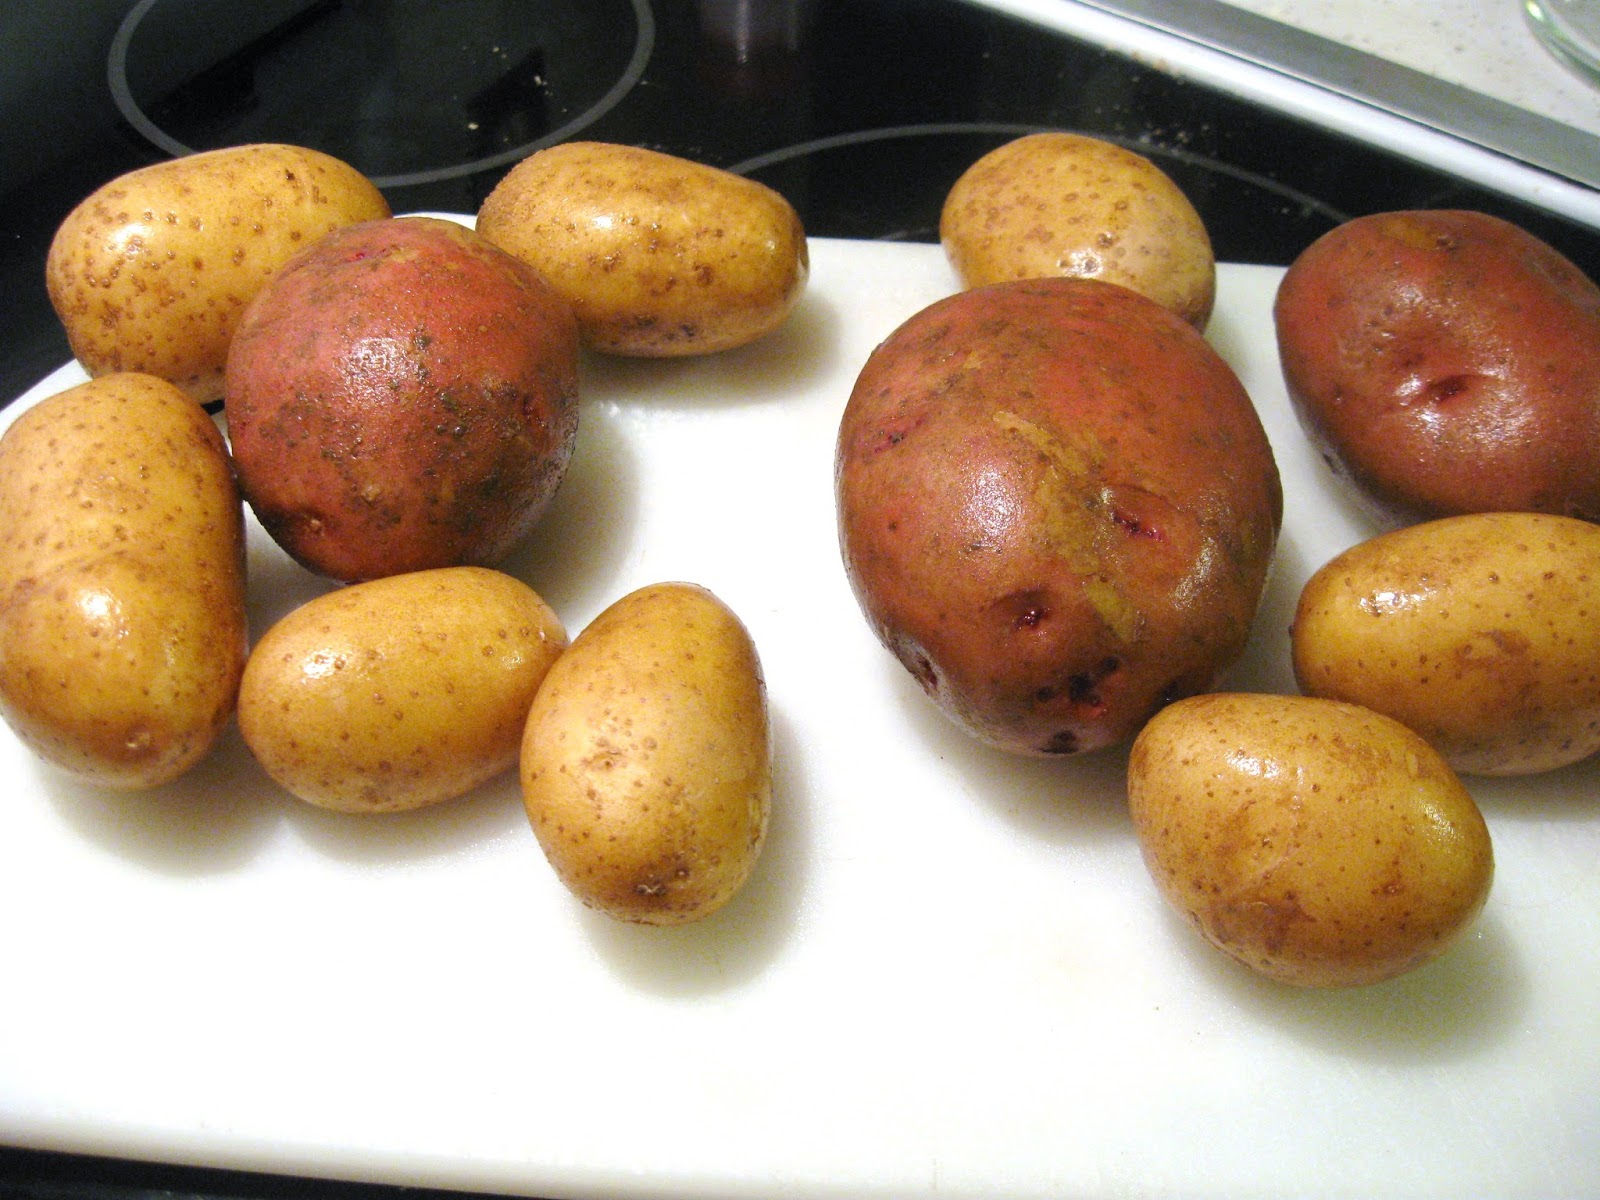
While the oven is preheating, prepare the ingredients.  Cut the potatoes into small cubes.  I used a mix of potatoes (9 smaller and 3 large) but all together it came out to be about 8 cups when chopped.  Mince the garlic and cut the green onions.  Also, cut the bacon into small pieces.

Melt the butter.  The note I wrote to myself to rationalize the amount was "because that's how much of the stick we have left"... but it turned out to be a good amount.

Put the potatoes in a pan, and mix in the melted butter.  Keep in the oven for 35-40 minutes, or until they can be punctured easily with a fork.  Make sure to stir every 15 minutes or so.


While the potatoes are in the oven, fry the bacon until it is crispy.  Place on a plate in between two paper towels and set aside.  "Always have a towel even if it's paper" is the note I left for myself here.  If these were the kind of notes I was going to leave for myself, I should have made a Pan Galactic Gargle Blaster!


Shred the cheese. My notes wouldn't be complete without a cheesy pun, so here's a gouda one. ;-)  The cheese I used was called Abbie Gouda, from Cooperstown Cheese Company.  This was one of the perks I received for helping out at a Farmer's Market in Saugerties, NY.  This cheese is perfect for melting and had a wonderful flavor.  I only used about a 1/3 lb, but the next time I do this I will add more.

When the potatoes are ready, remove from the oven.  Mix the cheese, green onions, and garlic in with the potatoes and put back in the oven for another 10 minutes or so.  By then, the cheese should be melted.  Taste a potato - if it's cooked all the way through, it's done.


The final note of the evening is "remember to turn off the oven", which is always an important thing to do.  That's all I have for you this week.  Enjoy this in whatever state you may choose to, and I'll be back next week with another garlicky recipe.

Wednesday, November 20, 2013

Roasted Garlic Deviled Eggs


 The month is past its halfway point and I'll begin this post yet again with my NaNoWriMo update.  I am now at the 30K mark, and have lost some steam in the past week.  I tried to get ahead last week, because I visited a friend in Rhode Island over the weekend, and writing just was not going to happen while I was there.  I am hoping to pick up some momentum and get ahead of the game.

In the mean time I bring another recipe!  I absolutely love deviled eggs, and I realized any time I've made them  I haven't put in any garlic.  This time I roasted a few garlic cloves (to cook them and so they would blend easier in with the yolks), and it tasted wonderful!  I also have to mention that the olives in the picture above are Garlic Stuffed Olives from Pickle Licious, which have been my latest olive obsession from them.  If anyone is a fan of olives and a fan of garlic, give them a try!

 Ingredients for this Recipe:
  • 6 Eggs
  • 3-4 Cloves of Garlic
  • Mayonnaise
  • 1 Tsp Dry Mustard
  • Salt
  • Crushed Red Pepper
  • Paprika
 First, hard boil the eggs.  Put the eggs in a pot with water and bring it to a boil.  Once boiling, set the timer for 7 minutes, then take off the heat (while leaving the eggs in the water) for an additional 7 minutes.  When the time is up, dump the water from the pan, and quench the eggs in cold water.

While waiting for the water to reach boiling, roast the garlic.  There are very helpful guides to how to roast a whole head of garlic (like if you click here or here).  I only roasted a few cloves.  I started by preheating the oven to 350 degrees Fahrenheit.  Peel the cloves and wrap them in aluminum foil.  When the oven is up to temperature, place the wrapped cloves in the oven for 20-25 minutes, or until you can stick a fork through a clove easily.  Remove the cloves from the foil.  Put in a bowl and mash with a fork, then set aside.

When the eggs have cooled off remove the shells.  Then cut each egg in half (lengthwise).


 Gently remove the yolks, and place in the bowl with the garlic.


 Mash the yolks with a fork, stirring them together with the garlic.


Stir in mayonnaise until the mixture becomes creamy and smooth.  Add the dry mustard, a dash of salt, and crushed red pepper to taste.


Spoon the mix back into the egg whites, dividing it between the 12 eggs.  Sprinkle with paprika and it is ready to serve!


Wednesday, November 13, 2013

Garlic Fries


As I mentioned in my previous post (Cheesy Pita Toast), I am participating in NaNoWriMo.  To update from last week, my current word count is around 23,000!  I also realize I forgot to make an "over 9000" joke last week, so I will now...IT'S OVER 9000!!!!  I am still going strong, but I'll let you know next week if that same enthusiasm continues.  There is no garlic in my novel unfortunately, but it gives me all the more reason to keep up with this blog during the process! :)

This week I just really wanted to snack on fries while writing.  Sometimes you just need to go with these urges.  As a result it turned into my recipe for this week!

My ingredients for this week:
  • 6 Russet Potatoes
  • 4 Garlic Cloves (Georgia Fire from Stoney Creek Nursery)
  • 3-4 Tbsp Olive Oil
  • 1 1/2 Tsp Smoked Paprika
  • 1/2 Tsp Cumin
  • 1/2 Tsp Thyme
 First, preheat the oven to 450 degrees Fahrenheit.

Next, mince the garlic.  Slice the potatoes into the shape of your French Fries, and lay on a greased baking sheet.  Combine the paprika, cumin, and thyme in a small bowl and set aside.


Add the oil to a small pan, and heat.  Once the oil is hot, and is starting to boil, add the minced garlic.  Cook the garlic for about 2-3 minutes, then take off the heat, and remove the garlic from the oil and set aside for later.


Use the oil to coat the potatoes on the baking sheet.  Once thoroughly coated, sprinkle the spice mix over the top, and mix until evenly coated.


Put the baking sheet in the oven, and set a timer for 35 minutes.  At about 15-20 minutes in, take the baking sheet out of the oven to stir the fries, then put back in for the remaining time.  Once the 35 minutes are over, check to see if the fries appear golden-brown, then remove from the oven.


Transfer the fries to a bowl, and add the cooked garlic.  Now it is ready to eat!  Eat just as is for a snack or use as a side dish.  If you try making it, or have another spice combination you've used, feel free to leave a comment and let me know!

Wednesday, November 6, 2013

Cheesy Pita Toast


Hello again!  It's November!  For some this means partaking in the month long activity of NaNoWriMo (National Novel Writing Month), where participants work on writing a 50,000 word novel in a month.  This is my first time being one of those participants.  Though the results may be awful, and though they may not be interesting to anyone other than myself, I plan on finishing this novel and it will be mine!  I feel confident with my start after crossing the 10K mark, but we will see if that confidence continues as the month progresses.  For any readers participating in NaNoWriMo, feel free to comment if you want to discuss or be writing buddies!

I promise the intro is relevant to this week's recipe.  With many people working on their novels, or whatever else keeps the month busy (exams, problem sets, job applications....life), I thought I'd prepare some quicker recipes that could work as appetizers or snacks.  I went through a huge pita phase during one of my semesters at college.  Pita toast was one of the quick and easy things I could make.  It made a great "munchy" that I could snack on while studying or working on an assignment.  It also was an excuse to use my oven when when the weather turned cold.

I also used a new type of garlic for the first time with this recipe!  It was called Georgia Fire, and I had gotten it from Stoney Creek Nursery when I visited the Ithaca Farmers Market.  I think I may have found another favorite (on top of the German Red).  It had a wonderful fragrance, and was definitely a spicy garlic


My ingredients for this week were:
First, set your oven to broil.

 It is now time for the prep work.  Cut each pita into quarters.  Open up each quarter and rip it in half.  I did this with two pitas, making about 15-16 total pita toasts (one of which was ripped too much so I saved it as an offering to my eternally hungry dog).


Mince the garlic, and grate the cheese (or use a food processor to grind it up and make it go faster).  The cheese I used was Toma Brianna from Cooperstown Cheese Company.  This is a mild and creamy cheese that melted wonderfully.  Other times I've made this I have either used Parmesan or Mozzarella, depending on what kind of cheese I was feeling like using or what was available in my refrigerator at the time.


With everything prepped, it is time to assemble!  I have no idea if it is just me (it probably is), but I am really awful at using a paintbrush for applying oil or butter onto anything.  On a baking sheet, I first painted the olive oil onto each pita quarter, then added the garlic, then the cheese, and finally sprinkled oregano on top.


Put in the oven for 3-5 minutes, or until the cheese is melted and the toast is starting to get crispy.  This went great as a side for dinner. It was great to dip in the sauce of our spaghetti dinner, and I look forward to snacking on the rest throughout the night as I novel away.


Wednesday, October 30, 2013

Garlicky Green Beans with Soy Sauce


This week's recipe is fairly short and easy to make.  It made a great side dish.  The main part of the meal I have shown above was a chicken and vegetable stir-fry and brown rice.

I used the German Red garlic from Hope Valley Farm again this week.  As I mentioned in the Stuffed Portabella Mushroom post, here is another picture of my dog, Rugby, with the garlic!


Ingredients for this recipe:
  • Green Beans
  • Green Onions
  • 2-3 Cloves Garlic (German Red)
  • Crushed Red Pepper
  • Black Pepper
  • Mushroom Soy Sauce
First, bring some water to boiling.  While waiting for the water to boil, take the stems off of the green beans.  Mice the garlic, and slice the green onions.  For this I used about three cloves of garlic, and three green onions.


Parboil the beans by putting them in the boiling water for 1-2 minutes, then remove.

Next, heat up a skillet with olive oil.  Once heated, add the garlic, and then the green beans. 


Once the green beans start to brown, add crushed red pepper and black pepper to the mix, then enough soy sauce to coat the green beans.  Finally, stir in the green onions, turn off the heat, and it is ready to serve!

Friday, October 25, 2013

Garlic "Fingers" (Halloween Themed)


This week's recipe is Halloween themed!  Halloween has always been one of my favorite holidays.  I have always loved dressing in costume and watching horror movies.  Also with my birthday really near to Halloween, I always had themed parties, which sometimes included themed food.  So, wearing my Halloween socks and earrings, I was ready to embark on the journey of making Garlic Fingers (garlicky bread sticks for the Halloween enthusiast).

Also, a couple of weekends ago I visited some friends in New York City to go to see Clara C in concert (who was SO much fun to watch live, and was the artist who's music I was listening to while baking the fingers).  While I was there, I stopped by the Union Square Farmers Market, and looked for some garlic.  I mean, what else am I going to go shopping for while visiting New York, right?


I purchased White Russian Garlic from Cayuga Pure Organics.  From what I tasted, it wasn't as spicy of a garlic as some of the others I've tried (like Asian Tempest Fire).  With it being milder, it was a great all purpose garlic, and worked wonderfully with this week's recipe!


Ingredients for this recipe:
  • 1 Packet Yeast
  • 1 Cup Warm Water (around 110 degrees Fahrenheit)
  • 2 Tbsp Sugar
  • 1 Tsp Salt
  • 3-3 1/2 Cups Flour
  • Olive Oil
  • Oregano
  • Basil
  • Paprika
  • 4 Cloves of Garlic (White Russian)
  • Marinara Sauce
First, add the yeast to the water with 1 Tbsp of sugar, and stir.  Let sit for about five minutes until it starts to foam (which means the yeast is activated).  You can pass the time by saying fun things to the yeast like, "You all seem like pretty fungis!" or "You seem to be bubbling with excitement!  Or...CO2..."  Or you can pass the time by looking into how cool yeast really is!!!  Or if Microbiology doesn't excite you as much as me...5 minutes really isn't that long a time.


After the yeast has been activated, in a large bowl add one more Tbsp of sugar and the salt to the yeast mix.  Then, slowly add your flour into the mixture until it is no longer sticky.  This is the part that will get messy when you can no longer stir with a whisk and have to use your hands to work in the flour.


Once the dough is no longer sticky, collect in a ball and put in a bowl coated with olive oil, cover with a damp towel, and leave to rise in a warm place.  Since my house is really cold most of the time, I had set my oven to the lowest I could (about 180 degrees Fahrenheit).  Let your bread rise for about 45 minutes.  After the time has passed, and the dough seems to have doubled, punch down and let it rise for another 15 minutes.


When the dough is rising, it is time to make the "fingernails".  Since the cloves of this garlic were quite large, I only needed to use one for the number I needed (16 bread sticks).  I first sliced the clove, and then cut each of these slices in half.  Mince the rest of the cloves.  Measure half a cup of olive oil, and add the minced garlic to it.


After the dough is done rising, flour a surface to work with the dough.  Knead the dough until it is smooth.  Divide it into 16 pieces, and roll each of these into the shape of a bread stick (or finger).  Now is also a good time to preheat your oven to 350 degrees Fahrenheit.


Now comes the fun part, making it look like a finger.  At the top of each finger, take one of your garlic "nails" and press into the dough.  Take a knife, and in the center of the bread stick, mark some lines to make it look like a knuckle.  With a brush, paint on the olive oil with minced garlic.  Season with the oregano, basil, paprika, and salt to your liking.


Bake for 10-15 minutes, or until slightly golden brown.


Either prepare your own marinara sauce, or heat up some that is store-bought (I am guilty of that this time).  With this, you can have some fun making your own "gory" but tasty scene.


Bone appetit!

Wednesday, October 23, 2013

And Now for Something Completely Cheesy (Butternut Squash Gratin)


I needed a little more time to finish my main post for this week, so for today I will be posting something shorter.  Look for my other post around Friday.

A few weeks ago, my dad made a wonderful dinner.  There isn't garlic in this recipe, but I just had to share anyways.  The recipe used was this Butternut Squash Gratin recipe from Culture magazine (a magazine for all things cheesy).  Instead of the cheeses they listed to use, Cooperstown Cheese Company's Jersey Girl and Toma Celena were used.

To be honest, I am not usually the biggest fan of butternut squash, but I loved this!  It was a spicy meal that was nice, warm, and gooey for how cool the evening was when we ate it.  It was definitely a tasty way to clear out your sinuses when you are suffering from a cold.