Showing posts with label vegetarian. Show all posts

Wednesday, October 30, 2013

Garlicky Green Beans with Soy Sauce


This week's recipe is fairly short and easy to make.  It made a great side dish.  The main part of the meal I have shown above was a chicken and vegetable stir-fry and brown rice.

I used the German Red garlic from Hope Valley Farm again this week.  As I mentioned in the Stuffed Portabella Mushroom post, here is another picture of my dog, Rugby, with the garlic!


Ingredients for this recipe:
  • Green Beans
  • Green Onions
  • 2-3 Cloves Garlic (German Red)
  • Crushed Red Pepper
  • Black Pepper
  • Mushroom Soy Sauce
First, bring some water to boiling.  While waiting for the water to boil, take the stems off of the green beans.  Mice the garlic, and slice the green onions.  For this I used about three cloves of garlic, and three green onions.


Parboil the beans by putting them in the boiling water for 1-2 minutes, then remove.

Next, heat up a skillet with olive oil.  Once heated, add the garlic, and then the green beans. 


Once the green beans start to brown, add crushed red pepper and black pepper to the mix, then enough soy sauce to coat the green beans.  Finally, stir in the green onions, turn off the heat, and it is ready to serve!

Friday, October 25, 2013

Garlic "Fingers" (Halloween Themed)


This week's recipe is Halloween themed!  Halloween has always been one of my favorite holidays.  I have always loved dressing in costume and watching horror movies.  Also with my birthday really near to Halloween, I always had themed parties, which sometimes included themed food.  So, wearing my Halloween socks and earrings, I was ready to embark on the journey of making Garlic Fingers (garlicky bread sticks for the Halloween enthusiast).

Also, a couple of weekends ago I visited some friends in New York City to go to see Clara C in concert (who was SO much fun to watch live, and was the artist who's music I was listening to while baking the fingers).  While I was there, I stopped by the Union Square Farmers Market, and looked for some garlic.  I mean, what else am I going to go shopping for while visiting New York, right?


I purchased White Russian Garlic from Cayuga Pure Organics.  From what I tasted, it wasn't as spicy of a garlic as some of the others I've tried (like Asian Tempest Fire).  With it being milder, it was a great all purpose garlic, and worked wonderfully with this week's recipe!


Ingredients for this recipe:
  • 1 Packet Yeast
  • 1 Cup Warm Water (around 110 degrees Fahrenheit)
  • 2 Tbsp Sugar
  • 1 Tsp Salt
  • 3-3 1/2 Cups Flour
  • Olive Oil
  • Oregano
  • Basil
  • Paprika
  • 4 Cloves of Garlic (White Russian)
  • Marinara Sauce
First, add the yeast to the water with 1 Tbsp of sugar, and stir.  Let sit for about five minutes until it starts to foam (which means the yeast is activated).  You can pass the time by saying fun things to the yeast like, "You all seem like pretty fungis!" or "You seem to be bubbling with excitement!  Or...CO2..."  Or you can pass the time by looking into how cool yeast really is!!!  Or if Microbiology doesn't excite you as much as me...5 minutes really isn't that long a time.


After the yeast has been activated, in a large bowl add one more Tbsp of sugar and the salt to the yeast mix.  Then, slowly add your flour into the mixture until it is no longer sticky.  This is the part that will get messy when you can no longer stir with a whisk and have to use your hands to work in the flour.


Once the dough is no longer sticky, collect in a ball and put in a bowl coated with olive oil, cover with a damp towel, and leave to rise in a warm place.  Since my house is really cold most of the time, I had set my oven to the lowest I could (about 180 degrees Fahrenheit).  Let your bread rise for about 45 minutes.  After the time has passed, and the dough seems to have doubled, punch down and let it rise for another 15 minutes.


When the dough is rising, it is time to make the "fingernails".  Since the cloves of this garlic were quite large, I only needed to use one for the number I needed (16 bread sticks).  I first sliced the clove, and then cut each of these slices in half.  Mince the rest of the cloves.  Measure half a cup of olive oil, and add the minced garlic to it.


After the dough is done rising, flour a surface to work with the dough.  Knead the dough until it is smooth.  Divide it into 16 pieces, and roll each of these into the shape of a bread stick (or finger).  Now is also a good time to preheat your oven to 350 degrees Fahrenheit.


Now comes the fun part, making it look like a finger.  At the top of each finger, take one of your garlic "nails" and press into the dough.  Take a knife, and in the center of the bread stick, mark some lines to make it look like a knuckle.  With a brush, paint on the olive oil with minced garlic.  Season with the oregano, basil, paprika, and salt to your liking.


Bake for 10-15 minutes, or until slightly golden brown.


Either prepare your own marinara sauce, or heat up some that is store-bought (I am guilty of that this time).  With this, you can have some fun making your own "gory" but tasty scene.


Bone appetit!

Wednesday, October 23, 2013

And Now for Something Completely Cheesy (Butternut Squash Gratin)


I needed a little more time to finish my main post for this week, so for today I will be posting something shorter.  Look for my other post around Friday.

A few weeks ago, my dad made a wonderful dinner.  There isn't garlic in this recipe, but I just had to share anyways.  The recipe used was this Butternut Squash Gratin recipe from Culture magazine (a magazine for all things cheesy).  Instead of the cheeses they listed to use, Cooperstown Cheese Company's Jersey Girl and Toma Celena were used.

To be honest, I am not usually the biggest fan of butternut squash, but I loved this!  It was a spicy meal that was nice, warm, and gooey for how cool the evening was when we ate it.  It was definitely a tasty way to clear out your sinuses when you are suffering from a cold.

Wednesday, October 16, 2013

Stuffed Grilled Portabellas!


Do you like grilled foods?  The weather so far has been really awesome this week so let's grill out!  I absolutely love grilled portabella mushrooms, so this was a real treat to make.

For this recipe, I am using one of my favorite varieties of garlic, German Red.  This was obtained from Hope Valley Farm at the Hudson Valley Garlic Festival in Saugerties, NY.  I myself didn't go to this, but my dad's cheese company (Cooperstown Cheese Company) had a booth with many garlicky cheeses.  Again, this garlic is one of my favorites I have discovered so far.  It has such a robust smell and flavor!


The cute dog above is Rugby!  He was getting in the way of my "Garlic Photo Shoot" so I decided to have some fun with him in these pictures.  I took a bunch, so there may be more in future blog posts using this German Red garlic...

Ingredients for this recipe:
  • 3 Portabella Mushrooms
  • Toma Torino Cheese (Cooperstown Cheese Company)
  • 5 Cloves of Garlic (German Red from Hope Valley Farm)
  • Mixed Olives (such as these from Pickle Licious)
  • 1 Tbsp Lemon Juice
  • Olive Oil
  • Bread Crumbs
  • 1/2 Tsp Thyme
  • 1/2 Tsp Oregano
  • 1/2 Tsp Basil
  • 1 Tbsp Mustard
  • Anaheim Pepper
First, get your grill fired up!  If you are like me, make sure you check it multiple times in case the fire decides to die out.

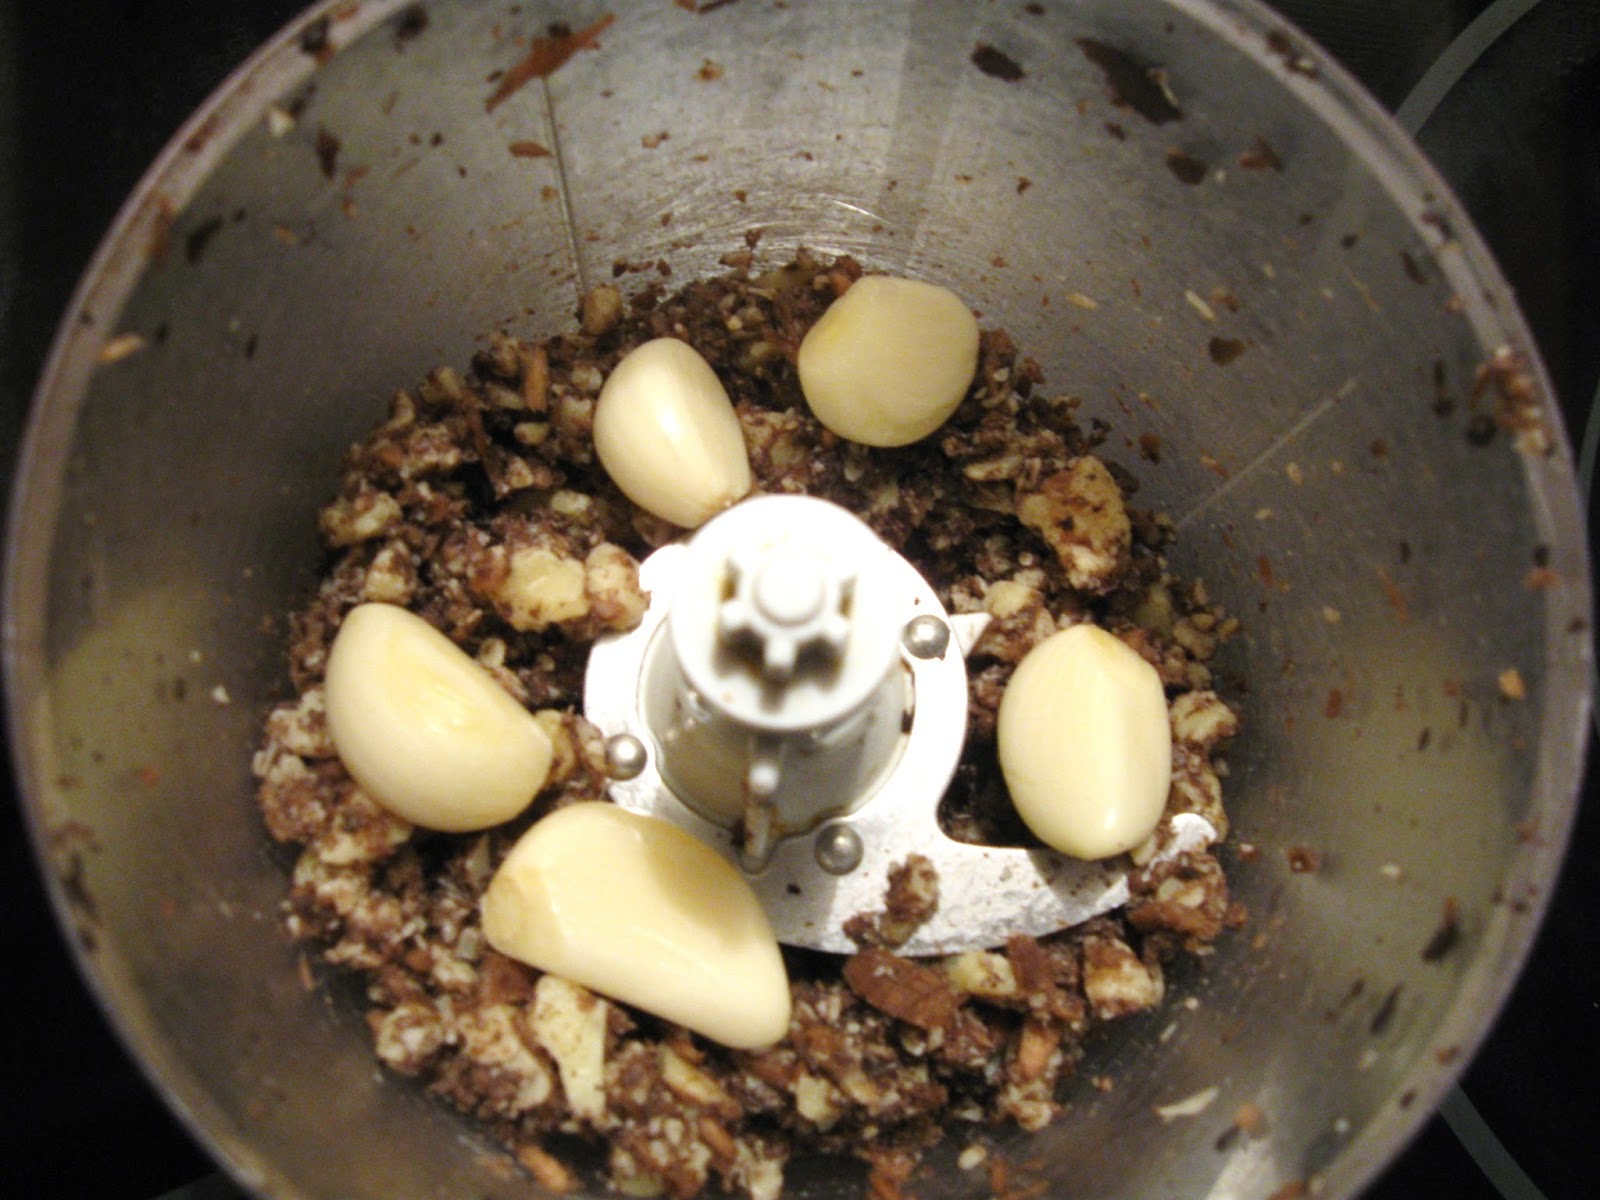
Next, gently pull the stems off the mushrooms.  Put the stems in a food processor, and save for later.


Roughly cut up the cheese for the food processor as well.  I used about an 1/8th of a pound of Toma Torino from Cooperstown Cheese Company.  This is a very delicious Italian-style, Alpine table cheese that I also used a few weeks ago in my "Chicken ala After Manhattans" post.


Now, add the cheese, peeled garlic cloves, and about a couple dozen olives to the food processor.  Process until there are no more big chunks.


Add the herbs (thyme, oregano, basil), mustard, and lemon juice.  Mix these in.  Also add in olive oil and bread crumbs until it starts to look like a paste.  Divide this between the three mushrooms, spreading over the top.


Sprinkle some bread crumbs on top of the mushrooms, and then drizzle olive oil over that.  Finish off by adding sliced anaheim peppers (or peppers of your choice, this was just what was from my garden).


When the coals of your grill are ready, keep them to one side, and start the mushrooms on the side with the coals.  After about 4 minutes (when the mushrooms start to sizzle), move to the side without the coals.  We were also grilling chicken, so at this time we added the chicken to the side with the coals.  Cover the grill, and let it cook.  About halfway through cooking the mushrooms, spin so the side facing away from the coals faces them (around 7 minutes).


When the sides of the mushrooms seem all the way cooked (they are now a darker brown), they can come off the grill.  This would be about 12-15 minutes from first moving them to the side of the grill without coals.


With this meal, we also grilled chicken thighs (with Lawry's Salt), and made a zucchini side (zucchini, tomato,onion, Jersey Girl cheese, and spices).

Wednesday, September 11, 2013

Jersey Girl Panini


For my first blog post, I wanted to make something to congratulate Cooperstown Cheese Company with their cheese Jersey Girl placing 3rd in American Originals at the American Cheese Society Convention. What better way than making a grilled cheese/panini? Of the cheese they make, Jersey Girl is one of my all time favorites.  Jersey Girl is a raw milk Colby that is made from the milk of Jersey cows (hence the name Jersey Girl).  On top of its recent award, it was also one of the two cheeses from Cooperstown Cheese Company that were on the 2013 Inauguration menu (the other being Toma Celena).


For this sandwich, my ingredient list is:
  • Jersey Girl (Cooperstown Cheese Company), thinly sliced
  • Loaf of Ciabatta (Balthazar Bakery)
  • 1 Roasted Red Pepper
  • Cremini mushrooms
  • Garlic (I used about 4 cloves and minced them)
  • Lemon Juice
  • Oregano
  • Black Pepper

First, roast the red pepper. It's perfectly fine to buy a jar of roasted red peppers, but I find it isn't too hard to roast the pepper myself, and it's quite a bit cheaper. Get rid of the stem and seeds, and put it in the broiler while keeping an eye on it.

When one side starts to blacken, use tongs to rotate it until all of the sides seem cooked enough. For this meal, I pealed off the skin when I was done roasting it. After roasting, cut the pepper into strips.


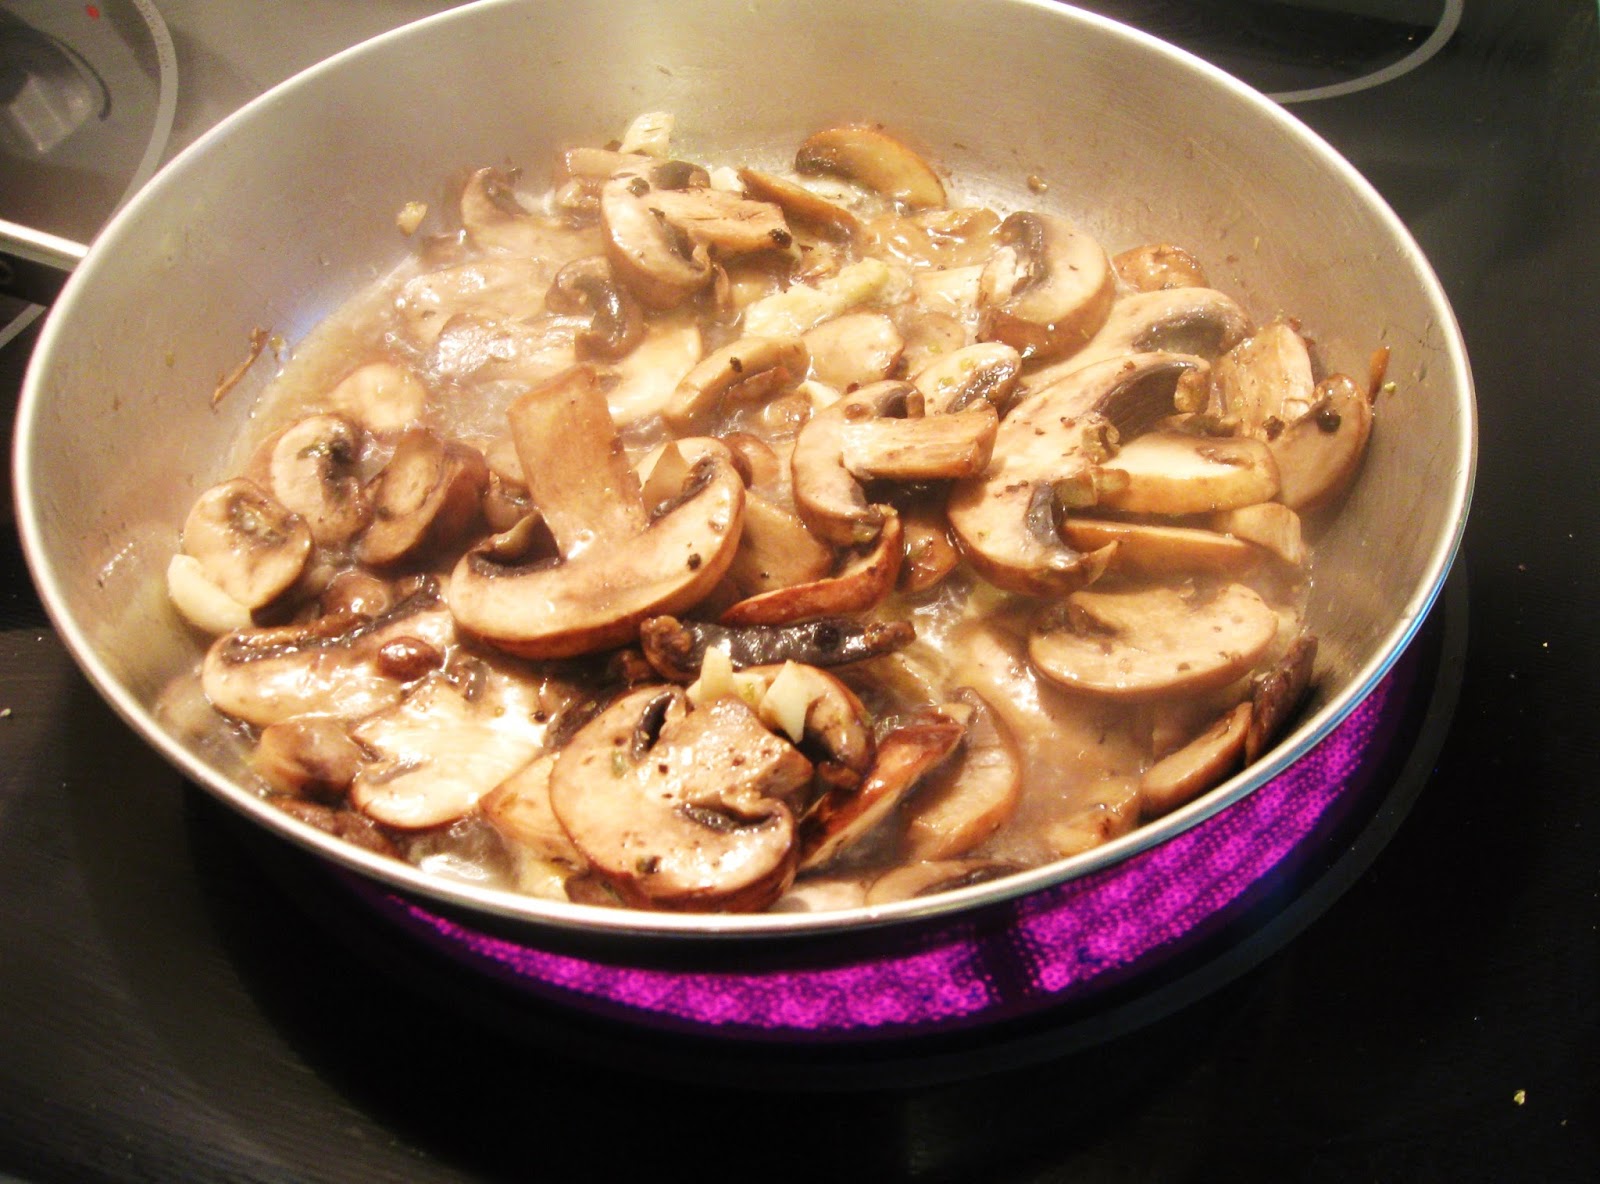
Next, saute the mushrooms. I tend to like creminis a lot and I thought they would be a good pick for this meal. Keep the pan at medium heat with olive oil when sauteeing the mushrooms until they seem partly cooked.

Add minced garlic (I used four cloves because I always like a lot of garlic, and for this it seemed to be a good amount) to cook with the mushrooms, and add black pepper and oregano. When the mushrooms seem more fully cooked, sprinkle lemon juice over the top (not too much). When the mushrooms are cooked enough, take them off of the heat and use a slotted spoon to transfer them (and garlic) into a bowl and drain the liquid.


Now that the pepper and mushrooms are cooked, it is time to assemble the sandwich. Slice the ciabatta loaf lengthwise, grill the whole loaf, then slice it after it's done. Generally, my first layer is sliced Jersey Girl, and on top of that I like to put down a layer of the roasted red peppers, followed by the mushrooms and garlic.


One of the saddest things that can happen to a family of cheese-makers is for the panini press to stop working...which it did about two months ago. If you're like me and don't own a working panini press, this step is where we're going to get a little bit creative.  Because of the volume of the ciabatta bread, I generally like to press it, and make sure that the cheese on the inside is getting melted.  What I end up using is another pot and to press down my sandwich (which stirs up quite a few chuckles from my parents watching me from the other side of the kitchen).

When the cheese is melted and both sides of the bread are toasted, it's done!  After taking the whole thing out of the pan, cut it into six slices to serve (as you can see from the first image of this post).


So there we have it, my first addition to this blog!  Cooperstown Cheese Company's Jersey Girl melted wonderfully for this panini, and I highly recommend it for any variety of panini or grilled cheese sandwiches you may wish to make.