Showing posts with label anaheim pepper. Show all posts

Wednesday, October 16, 2013

Stuffed Grilled Portabellas!


Do you like grilled foods?  The weather so far has been really awesome this week so let's grill out!  I absolutely love grilled portabella mushrooms, so this was a real treat to make.

For this recipe, I am using one of my favorite varieties of garlic, German Red.  This was obtained from Hope Valley Farm at the Hudson Valley Garlic Festival in Saugerties, NY.  I myself didn't go to this, but my dad's cheese company (Cooperstown Cheese Company) had a booth with many garlicky cheeses.  Again, this garlic is one of my favorites I have discovered so far.  It has such a robust smell and flavor!


The cute dog above is Rugby!  He was getting in the way of my "Garlic Photo Shoot" so I decided to have some fun with him in these pictures.  I took a bunch, so there may be more in future blog posts using this German Red garlic...

Ingredients for this recipe:
  • 3 Portabella Mushrooms
  • Toma Torino Cheese (Cooperstown Cheese Company)
  • 5 Cloves of Garlic (German Red from Hope Valley Farm)
  • Mixed Olives (such as these from Pickle Licious)
  • 1 Tbsp Lemon Juice
  • Olive Oil
  • Bread Crumbs
  • 1/2 Tsp Thyme
  • 1/2 Tsp Oregano
  • 1/2 Tsp Basil
  • 1 Tbsp Mustard
  • Anaheim Pepper
First, get your grill fired up!  If you are like me, make sure you check it multiple times in case the fire decides to die out.

Next, gently pull the stems off the mushrooms.  Put the stems in a food processor, and save for later.


Roughly cut up the cheese for the food processor as well.  I used about an 1/8th of a pound of Toma Torino from Cooperstown Cheese Company.  This is a very delicious Italian-style, Alpine table cheese that I also used a few weeks ago in my "Chicken ala After Manhattans" post.


Now, add the cheese, peeled garlic cloves, and about a couple dozen olives to the food processor.  Process until there are no more big chunks.
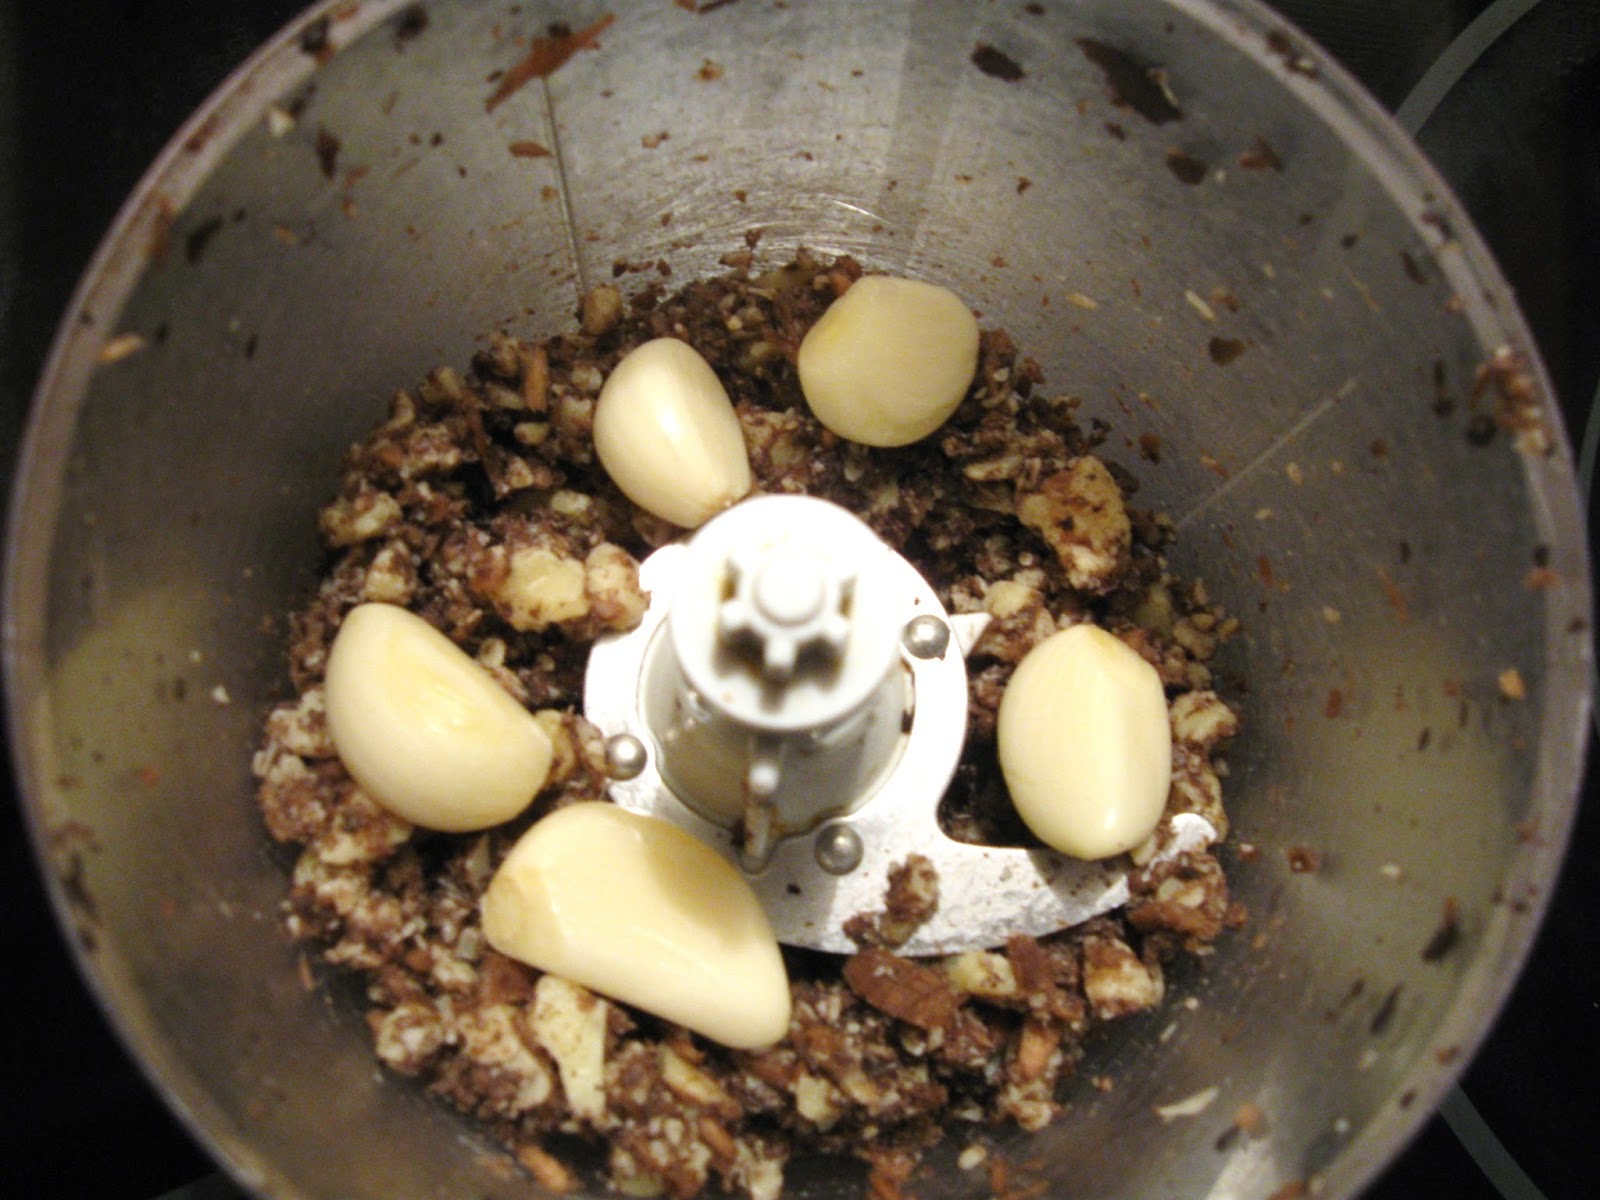

Add the herbs (thyme, oregano, basil), mustard, and lemon juice.  Mix these in.  Also add in olive oil and bread crumbs until it starts to look like a paste.  Divide this between the three mushrooms, spreading over the top.


Sprinkle some bread crumbs on top of the mushrooms, and then drizzle olive oil over that.  Finish off by adding sliced anaheim peppers (or peppers of your choice, this was just what was from my garden).


When the coals of your grill are ready, keep them to one side, and start the mushrooms on the side with the coals.  After about 4 minutes (when the mushrooms start to sizzle), move to the side without the coals.  We were also grilling chicken, so at this time we added the chicken to the side with the coals.  Cover the grill, and let it cook.  About halfway through cooking the mushrooms, spin so the side facing away from the coals faces them (around 7 minutes).


When the sides of the mushrooms seem all the way cooked (they are now a darker brown), they can come off the grill.  This would be about 12-15 minutes from first moving them to the side of the grill without coals.


With this meal, we also grilled chicken thighs (with Lawry's Salt), and made a zucchini side (zucchini, tomato,onion, Jersey Girl cheese, and spices).

Wednesday, September 25, 2013

Jambalaya

 
This week we explore a spicier dish!  Wikipedia tells me there are two general styles of Jambalaya.  The way I make it is closer to the Creole style (because of my use of tomatoes).  For this one, my dad was cooking with me, which is always awesome!

My ingredient list this week was:
  • Boneless chicken thighs (I used about 2 1/2 lbs)
  • Kielbasa (about 1/2 lb)
  • 1 Sweet Onion
  • Celery (about 4 stalks)
  • 1 Green Bell Pepper
  • 3 Anaheim Peppers
  • 28 oz can of Whole Peeled Tomatoes
  • 1 Head of Garlic (I got one from a farmer's market, and it had four huge cloves)
  • Butter
  • 1 1/2 cups uncooked rice (I used medium-grain white)
  • Spices:
    • 2 Tsp Cayenne
    • 1 1/2 Tsp Salt
    • 2 Tsp Thyme
    • 1 Tbsp Black Pepper
    • 1/2 Tsp Sage
    • 1 Tbsp Paprika
    • 1/2 Tsp Ground Mustard
    • 1 Tbsp Garlic Powder
    • 1 Tsp Oregano
First, preheat the oven to 350 degrees Fahrenheit .

Now it is time for the prep work.  Chop up your celery, onion, and peppers.  This combination is referred to as "the trinity".  This also usually doesn't consist of Anaheim peppers, but I was using what I had growing in my garden (which is also why my 'green' bell pepper is somewhere between green and red).


Cut up your kielbasa and chicken (we cut the chicken into thirds).  Separate the tomato juice from the canned tomatoes into a bowl.  Cut the tomatoes in the can, and you should be able to separate more of the juice after.  Set the bowl aside, this will be used later.

Also, mince your garlic.  I used a whole head of garlic, which consisted of four huge cloves.  My father brought this back from the farmer's market in Peekskill, NY, which is where he sells his cheese.  I don't know what the variety is.  Whatever it was, it was delicious!


Now is also a good time to mix all of the spices together.

Once all the prep work is done, it is time to start cooking everything!  Heat your pan to medium-high heat, and add about 2 Tbsp butter to the pan.  Once melted, brown the kielbasa.


When browned, add the chicken thighs.  After the chicken has also started to brown (no more pink on the outside), add the spice mix and half of each of the trinity (onion, peppers, and celery).  Then stir like crazy until the vegetables simmer down.  This could take about 5-8 minutes depending on how hot the stove is.


 When it gets close to being simmered down add the garlic, then tomatoes, and finally the rice.  Once the rice is added, take off the heat and add the liquids (measure how much tomato juice you have, and top it off with water until the total quantity is 2 1/2 cups).  Then add the rest of the trinity and put the whole pot into the oven.


Next is a very important step.  Grab a beer (or drink of choice or legality) and play Skyrim while the timer is set for 45 minutes.

After 45 minutes, add 1/2 cup of water, and put back in the oven for another 15 minutes.  Once the time is up, take it out of the oven, stir thoroughly, and taste to see if the rice is fully cooked.  If the rice is to your liking, let it sit for 5 minutes and serve!  This is a great meal for colder days, especially with it being both warm and spicy.